NextJS 图像优化最佳实践 --知识铺
为了图像优化,NextJS 提供了一个图像组件,它是 HTML 元素 的扩展。 NextJS 提供了一些内置的优化来实现良好的 Core Web Vitals。
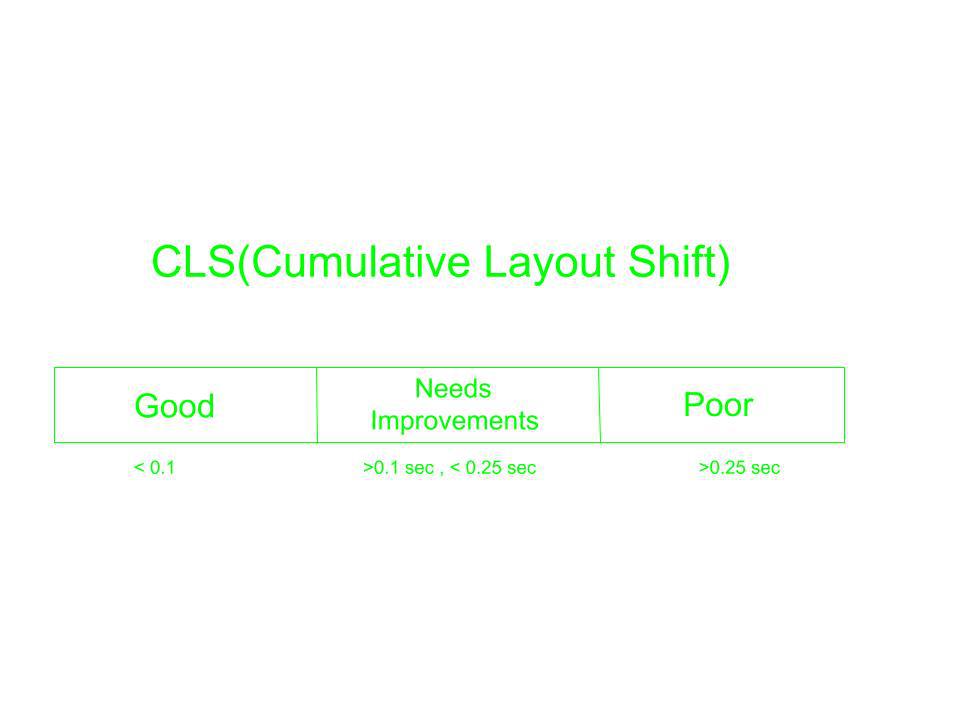
让我们首先了解什么是 Core Web Vitals:它是一组有助于衡量网络用户体验的标准化指标。这些指标对页面内容加载的速度进行评分。
Web 核心有以下三个要素:
- 最大内容涂料 (LCP)
- 首次输入延迟 (FID)
- 累积布局偏移 (CLS)
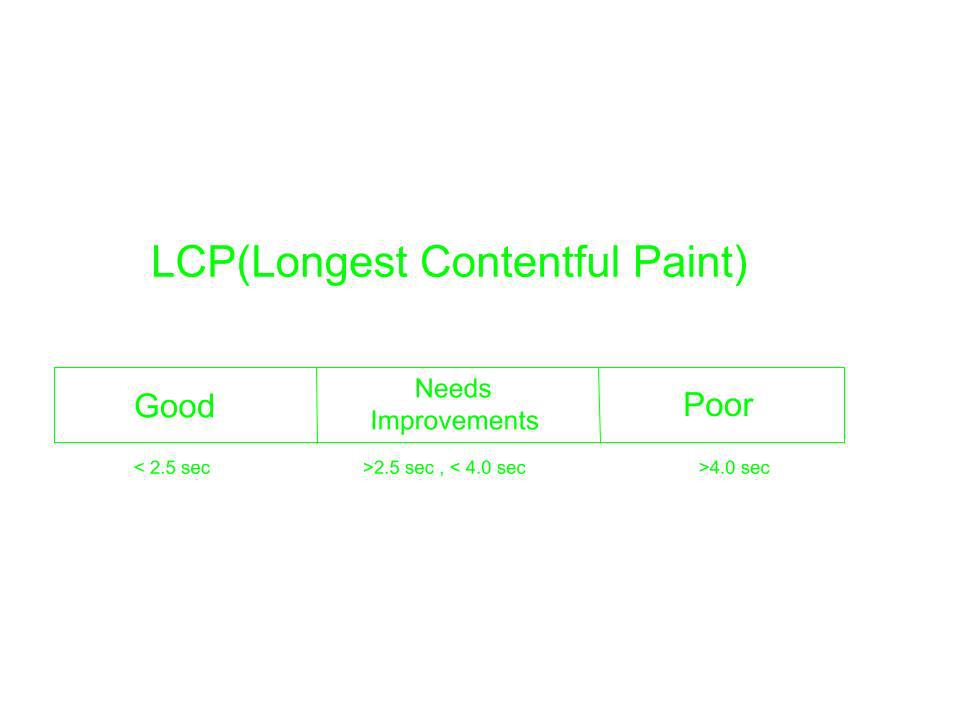
1.最大内容绘制(LCP):它测量以秒为单位的时间以及网页主要内容的加载速度。基本上,它测量从页面加载到图像呈现的时间。降低 LCP 可获得更好的结果。
我们可以通过优化渲染路径、CSS 和图像来改进 LCP。
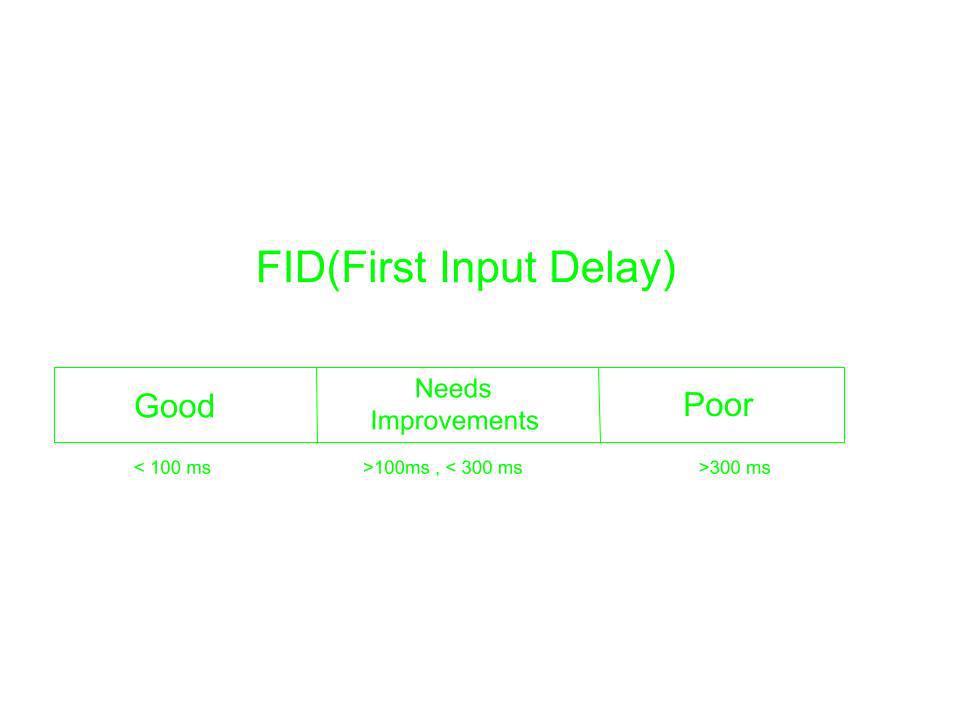
2.首次输入延迟(FID):它测量从您点击链接到他们响应的时间。我们可以通过减少 JavaScript 执行时间和第三方代码的影响来改进 FID。
3.累积布局偏移(CLS):CLS测量网页偏移的次数,基本上,它用于计算网页的视觉稳定性。我们可以通过在图像中包含宽度和高度属性来改进 CLS。
NextJS 提供的一些内置图像优化 API(next/image) 包括:
- 改进的用户体验:延迟或急切地加载图像,从而提高网站加载时间的性能。
- 良好的开发体验:提供缓存和加载器等选项。
- 视觉稳定性:自动防止 CLS。
- 提升 LCP:NextJS 为图像加载提供优先级属性。
- 响应式:如果我们在布局中设置响应式属性,NextJS 会自动执行此操作。
NextJS 中的图像组件: 元素,都接受 src 和 alt。
运行 NextJS 及其 Image 组件所需的步骤:
第 1 步:NodeJS 应该安装在您的计算机上。要了解如何安装 NodeJS,请单击此处。
步骤2:创建一个新文件并将目录更改为创建的文件。在终端中使用以下命令:
cd file_name
步骤 3:使用以下命令创建 Next 应用程序:
npx create-next-app app_name
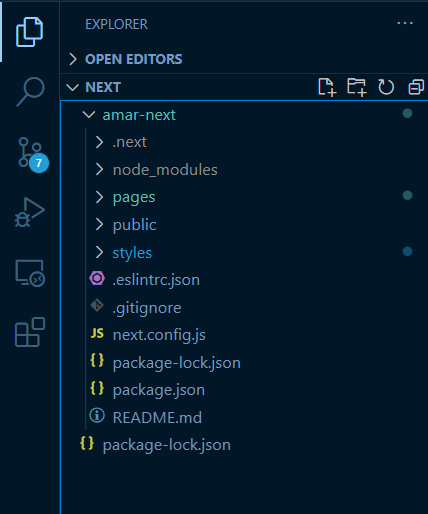
第 4 步:项目结构应如下所示:
步骤5:在pages/index.js中导入图片组件
import Image from "next/image";
图像优化:
1. 图像加载:我们可以指定图像的加载行为,当您向下滚动时,会自动加载下一个图像。加载有两种类型:
- eager:立即加载图像。
- 惰性:默认在图像组件中。加载直至图像可见。
例子:
Javascript
import Image from "next/image"``;
const index = () => {
return (
<>
<h1 style={{ color: 'green' }}>GeeksForGeeks</h1>
<Image src=``"/gfgg.png" alt=``"Loading"
width={500}
height={550}
loading=``"eager"
/>
</>
);
};
export default index;
注意:eager 不利于优化,请改用priority prop。
运行应用程序的步骤:使用以下命令运行您的 Next 应用程序:
npm run dev
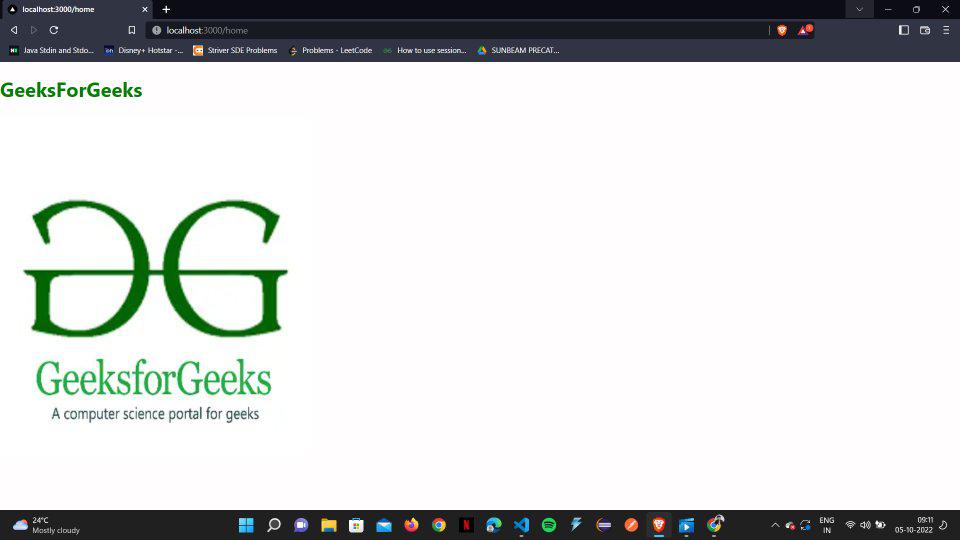
输出:
2. Priority prop:有时我们需要使用priority = {true}提前预加载关键图像,这会导致LCP的提升。
例子:
Javascript
import Image from "next/image"``;
const index = () => {
return (
<>
<h1 style={{ color: 'green' }}>GeeksForGeeks</h1>
<Image src=``"/gfgg.png" alt=``"Loading"
width={500}
height={550}
priority={``true``}
/>
</>
);
};
export default index;
3. 图像大小调整:正如我们所见,为了改进 CLS,我们需要包括图像的宽度和高度。这允许浏览器在加载图像之前为其保留空间。如果不知道图片大小,可以使用layout=“fill”。
layout = “fill” 响应其父尺寸。
该布局提供四个值:
- 充满
- 固有的
- 反应灵敏
- 固定的
例子:
Javascript
import Image from "next/image"``;
const index = () => {
return (
<>
<h1 style={{ color: 'green' }}>GeeksForGeeks</h1>
<Image src=``"/gfgg.png" alt=``"Loading"
layout=``"fill"
/>
</>
);
};
export default index;
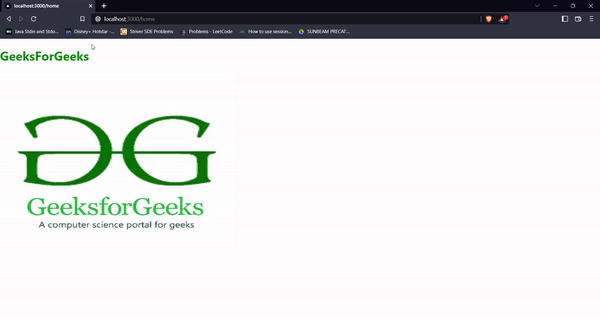
输出:

4. ObjectFit 属性:与layout = “fill”一起使用。它设置图像应如何调整大小以适合容器。
Objectfit 提供四个值:
- 包含
- 覆盖
- 充满
- 没有任何
例子:
Javascript
import Image from "next/image"``;
const index = () => {
return (
<>
<h1 style={{ color: 'green' }}>GeeksForGeeks</h1>
<Image src=``"/gfgg.png" alt=``"Loading"
layout=``"fill"
objectFit=``"contain"
/>
</>
);
};
export default index;
输出:

5. Placeholder 属性:加载图像时用作后备图像。它也称为临时替代或加载指示器。占位符指示图像正在加载。
占位符提供两个值:
- 模糊
- 空的
例子:
Javascript
import Image from "next/image"``;
const index = () => {
return (
<>
<h1 style={{ color: 'green' }}>GeeksForGeeks</h1>
<Image src=``"/gfgg.png" alt=``"Loading"
width={600}
height={450}
placeholder=``"blur"
blurDataURL=``"data:image/png;base64,[IMAGE_CODE_FROM_PNG_PIXEL]"
/>
</>
);
};
export default index;
输出:
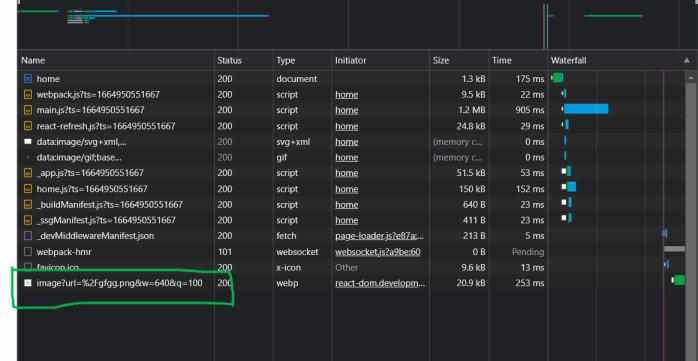
6. 质量属性:我们可以通过提供 1 到 100 之间的值来定义图像的质量。默认值为 75。

在上图中,我们可以看到“http://localhost:3000/_next/image?url=/gfgg.png&w=640&q=75”
q= 75 这是质量的默认值。
我们可以使用如下命令来调整质量值:
quality="100"
例子:
Javascript
import Image from "next/image"``;
const index = () => {
return (
<>
<h1 style={{ color: 'green' }}>GeeksForGeeks</h1>
<Image src=``"/gfgg.png" alt=``"Loading"
width={500}
height={550}
quality=``"100"
/>
</>
);
};
export default index;
输出:
“This course was packed with amazing and well-organized content! The project-based approach of this course made it even better to understand concepts faster. Also the instructor in the live classes is really good and knowledgeable.”- Tejas | Deutsche Bank
With our revamped Full Stack Development Program: master Node.js and React that enables you to create dynamic web applications.
So get ready for salary hike only with our Full Stack Development Course.
- 原文作者:知识铺
- 原文链接:https://index.zshipu.com/geek001/post/20240507/NextJS-%E5%9B%BE%E5%83%8F%E4%BC%98%E5%8C%96%E6%9C%80%E4%BD%B3%E5%AE%9E%E8%B7%B5--%E7%9F%A5%E8%AF%86%E9%93%BA/
- 版权声明:本作品采用知识共享署名-非商业性使用-禁止演绎 4.0 国际许可协议进行许可,非商业转载请注明出处(作者,原文链接),商业转载请联系作者获得授权。
- 免责声明:本页面内容均来源于站内编辑发布,部分信息来源互联网,并不意味着本站赞同其观点或者证实其内容的真实性,如涉及版权等问题,请立即联系客服进行更改或删除,保证您的合法权益。转载请注明来源,欢迎对文章中的引用来源进行考证,欢迎指出任何有错误或不够清晰的表达。也可以邮件至 sblig@126.com